Embed Chat Widget & API
Once you have designed a flow in the builder and verified its behavior, you usually want to expose it to users (chat widget) or to your own systems (HTTP API). Lyntaris provides a lightweight Chat Widget where supported, plus direct API access. Which options you see depends on where the flow was built.
Which canvas am I on?
| Builder route | Typical product name | Widget (Embed tab) | Code tabs in < > API |
|---|---|---|---|
/v2/agentcanvas |
Agentflow V2 | Yes (Popup, Fullpage, React) | Embed, Python, JavaScript, cURL, Share Chatbot |
/realtime-v1/agentcanvas |
Realtime Agent Canvas | No — realtime flows are driven by voice/clients and the queue | Python, JavaScript, cURL only (Realtime Queue endpoint) |
For voice / Call Center / Unity realtime flows, use Realtime Agent Canvas for queue payloads, status polling, and compact export—not only this page.
Embed in website or use as API
To open the dialog for a specific flow:
- Open the flow in the Lyntaris Builder (Agentflow V2 or Realtime v1 canvas, depending on your project).
- Click the
< >API button in the top right of the canvas toolbar.
API & Embed Dialog Configuration
Authorization
If you have secured the flow, select the authorization option from the dropdown at the top right of the dialog so the snippets include the correct API key or Bearer token.
1. UI Embed Options
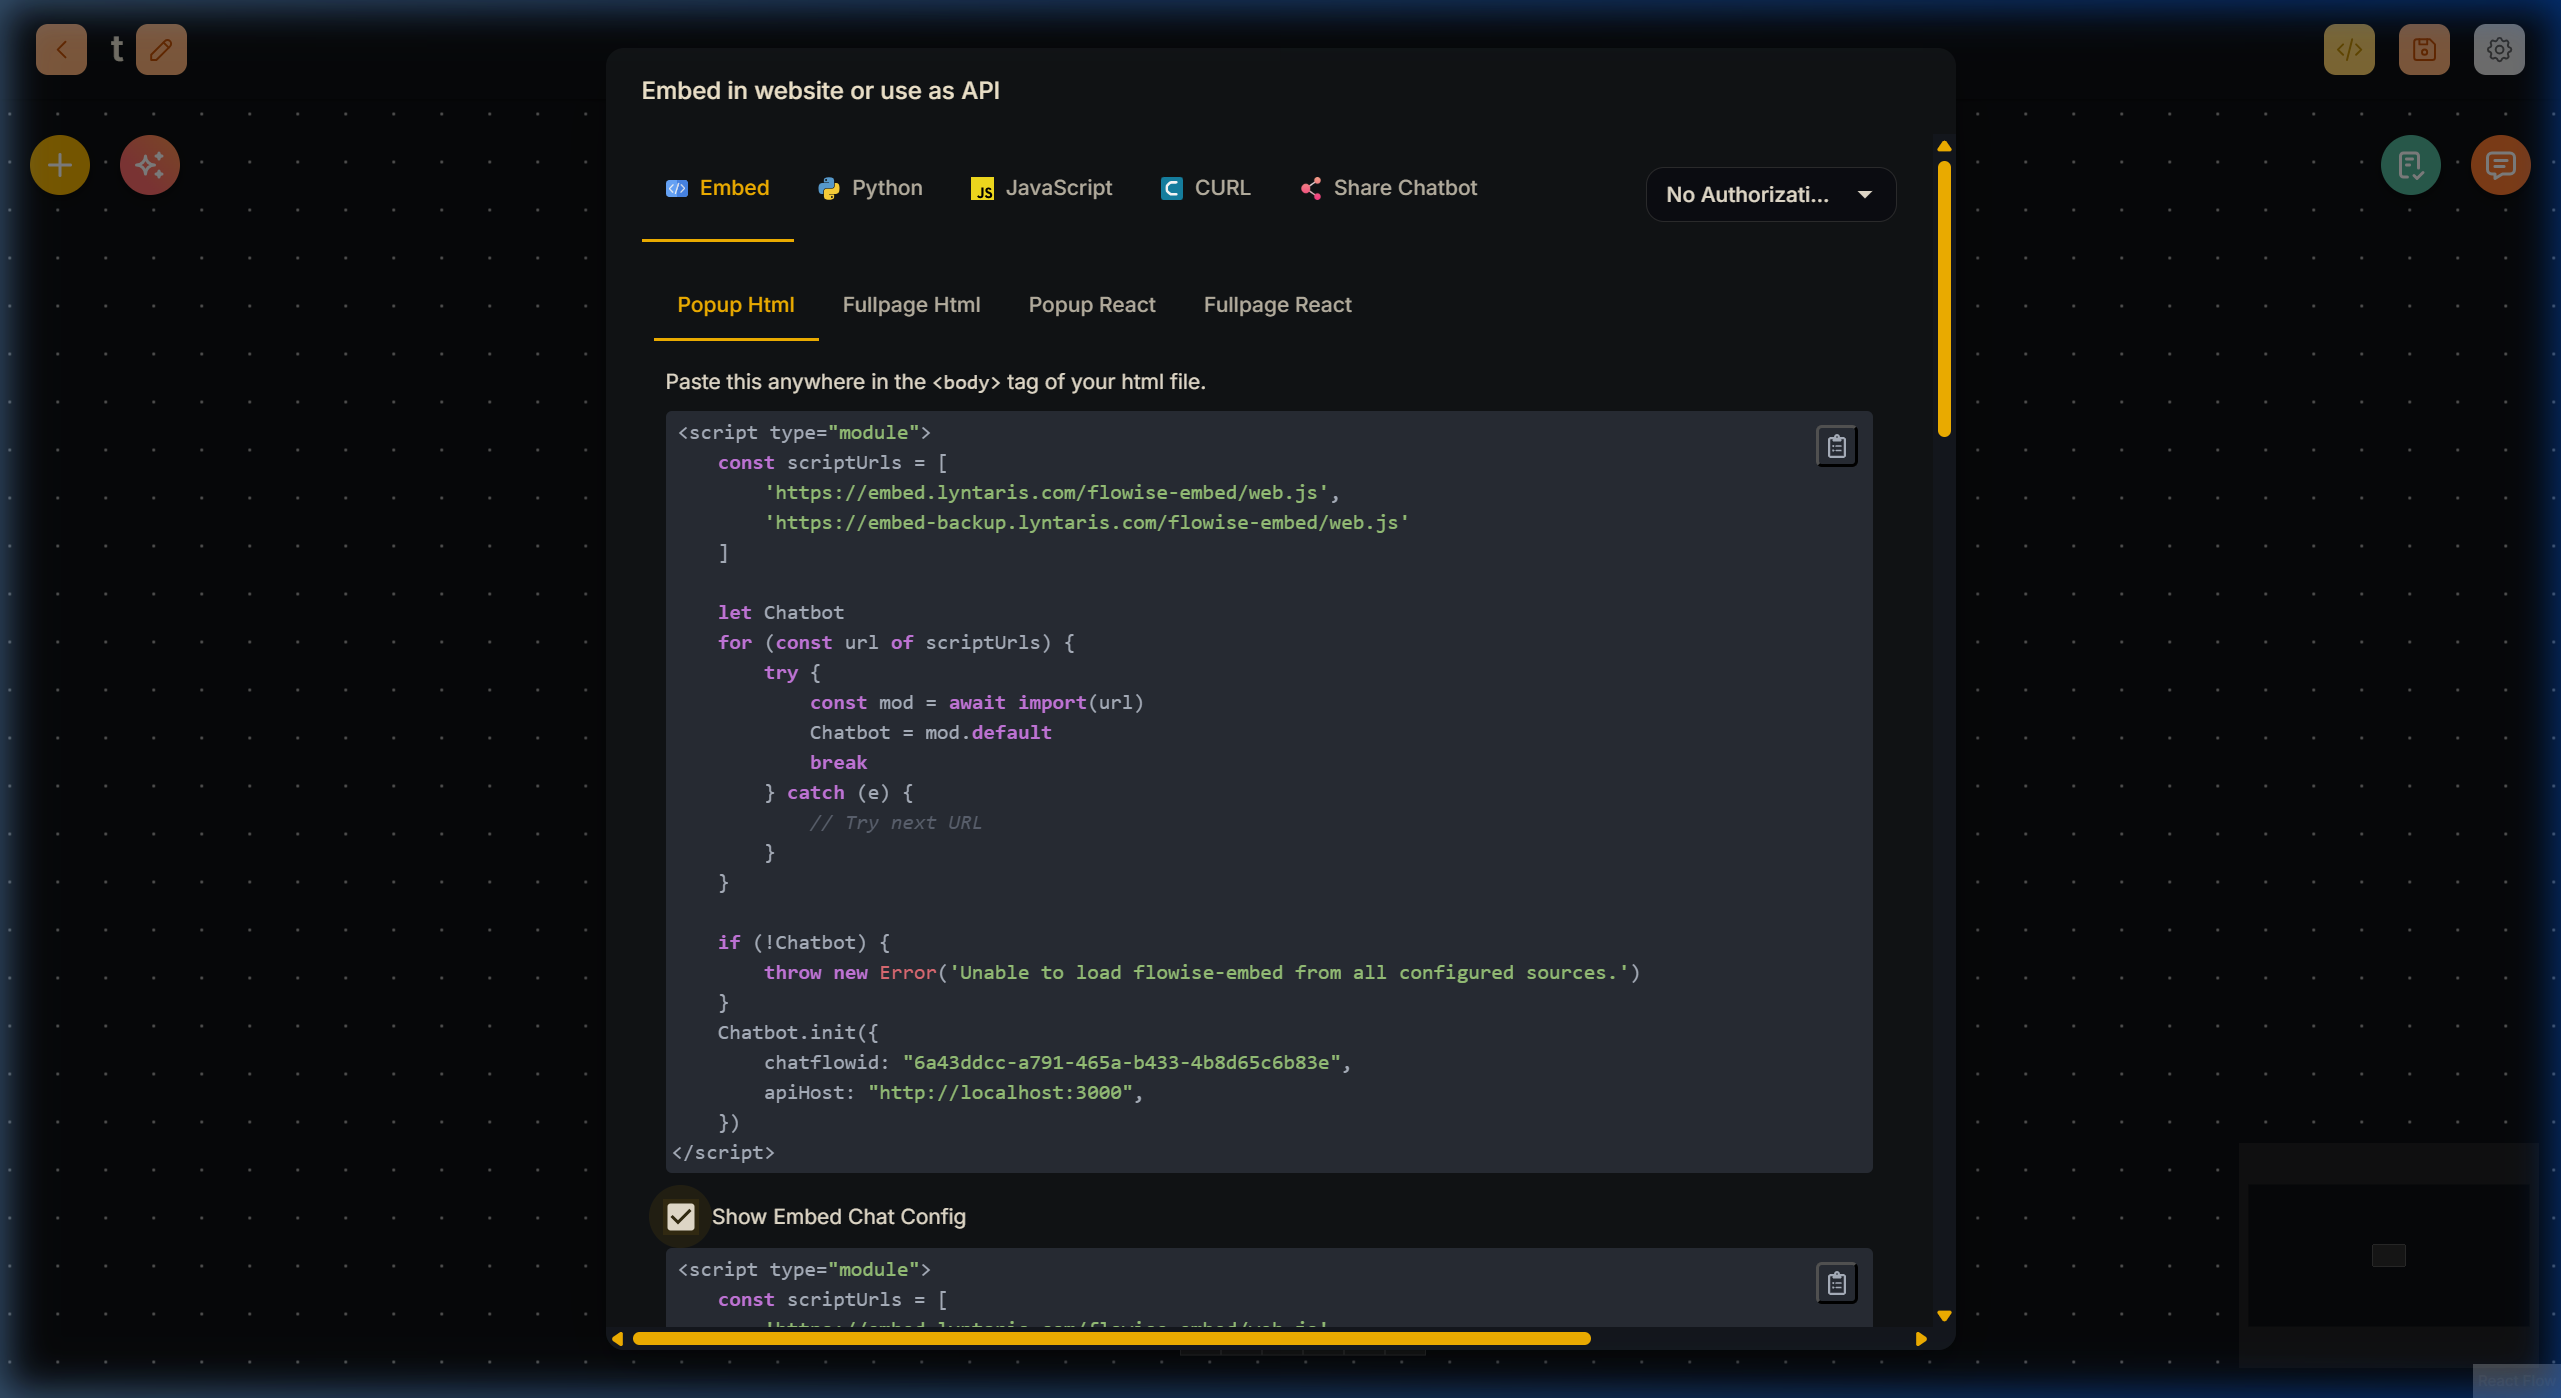
When the Embed tab is present (Agentflow V2 builder), Lyntaris gives you three primary ways to embed the visual Chat Widget. Select the Embed tab in the dialog to see the HTML snippets.
Realtime v1 (/realtime-v1/agentcanvas) does not offer a web Embed tab; integrate via the Realtime Queue API or your voice client stack instead.
Popup HTML (Recommended for Intranets)
The standard chat bubble floating in the bottom right corner.
Embedding the widget requires zero advanced programming knowledge. You simply copy the snippet provided in the Lyntaris dashboard and paste it into the <body> tag of your target website, SharePoint intranet, or custom portal.
Fullpage HTML
Generates a snippet that expands the chat interface to consume the entire screen. Ideal for dedicated support subdomains (e.g., ai-assistant.yourcompany.com).
React Options (Popup React / Fullpage React)
For modern JavaScript frameworks, Lyntaris provides the NPM package flowise-embed-react. These tabs provide the boilerplate code needed for your engineering team to import the component natively into React web applications.
Customizing the Experience
By checking the Show Embed Chat Config box, the generated snippet expands to include a comprehensive theme JSON object. You can modify these values to perfectly match your brand guidelines:
- Button Aesthetics: Change the
backgroundColor, absolute positioning, and icon. - Chat Window: Define the initial
welcomeMessage. - Colors & Typography: Adjust the
textColorof both the bot's messages and user's messages to ensure high contrast.
2. Direct API Integration
If you want a custom frontend or a server-to-server integration, use the Python, JavaScript, or cURL tabs in the same dialog. The snippets always match this flow’s saved configuration (including auth headers if you select an API key).
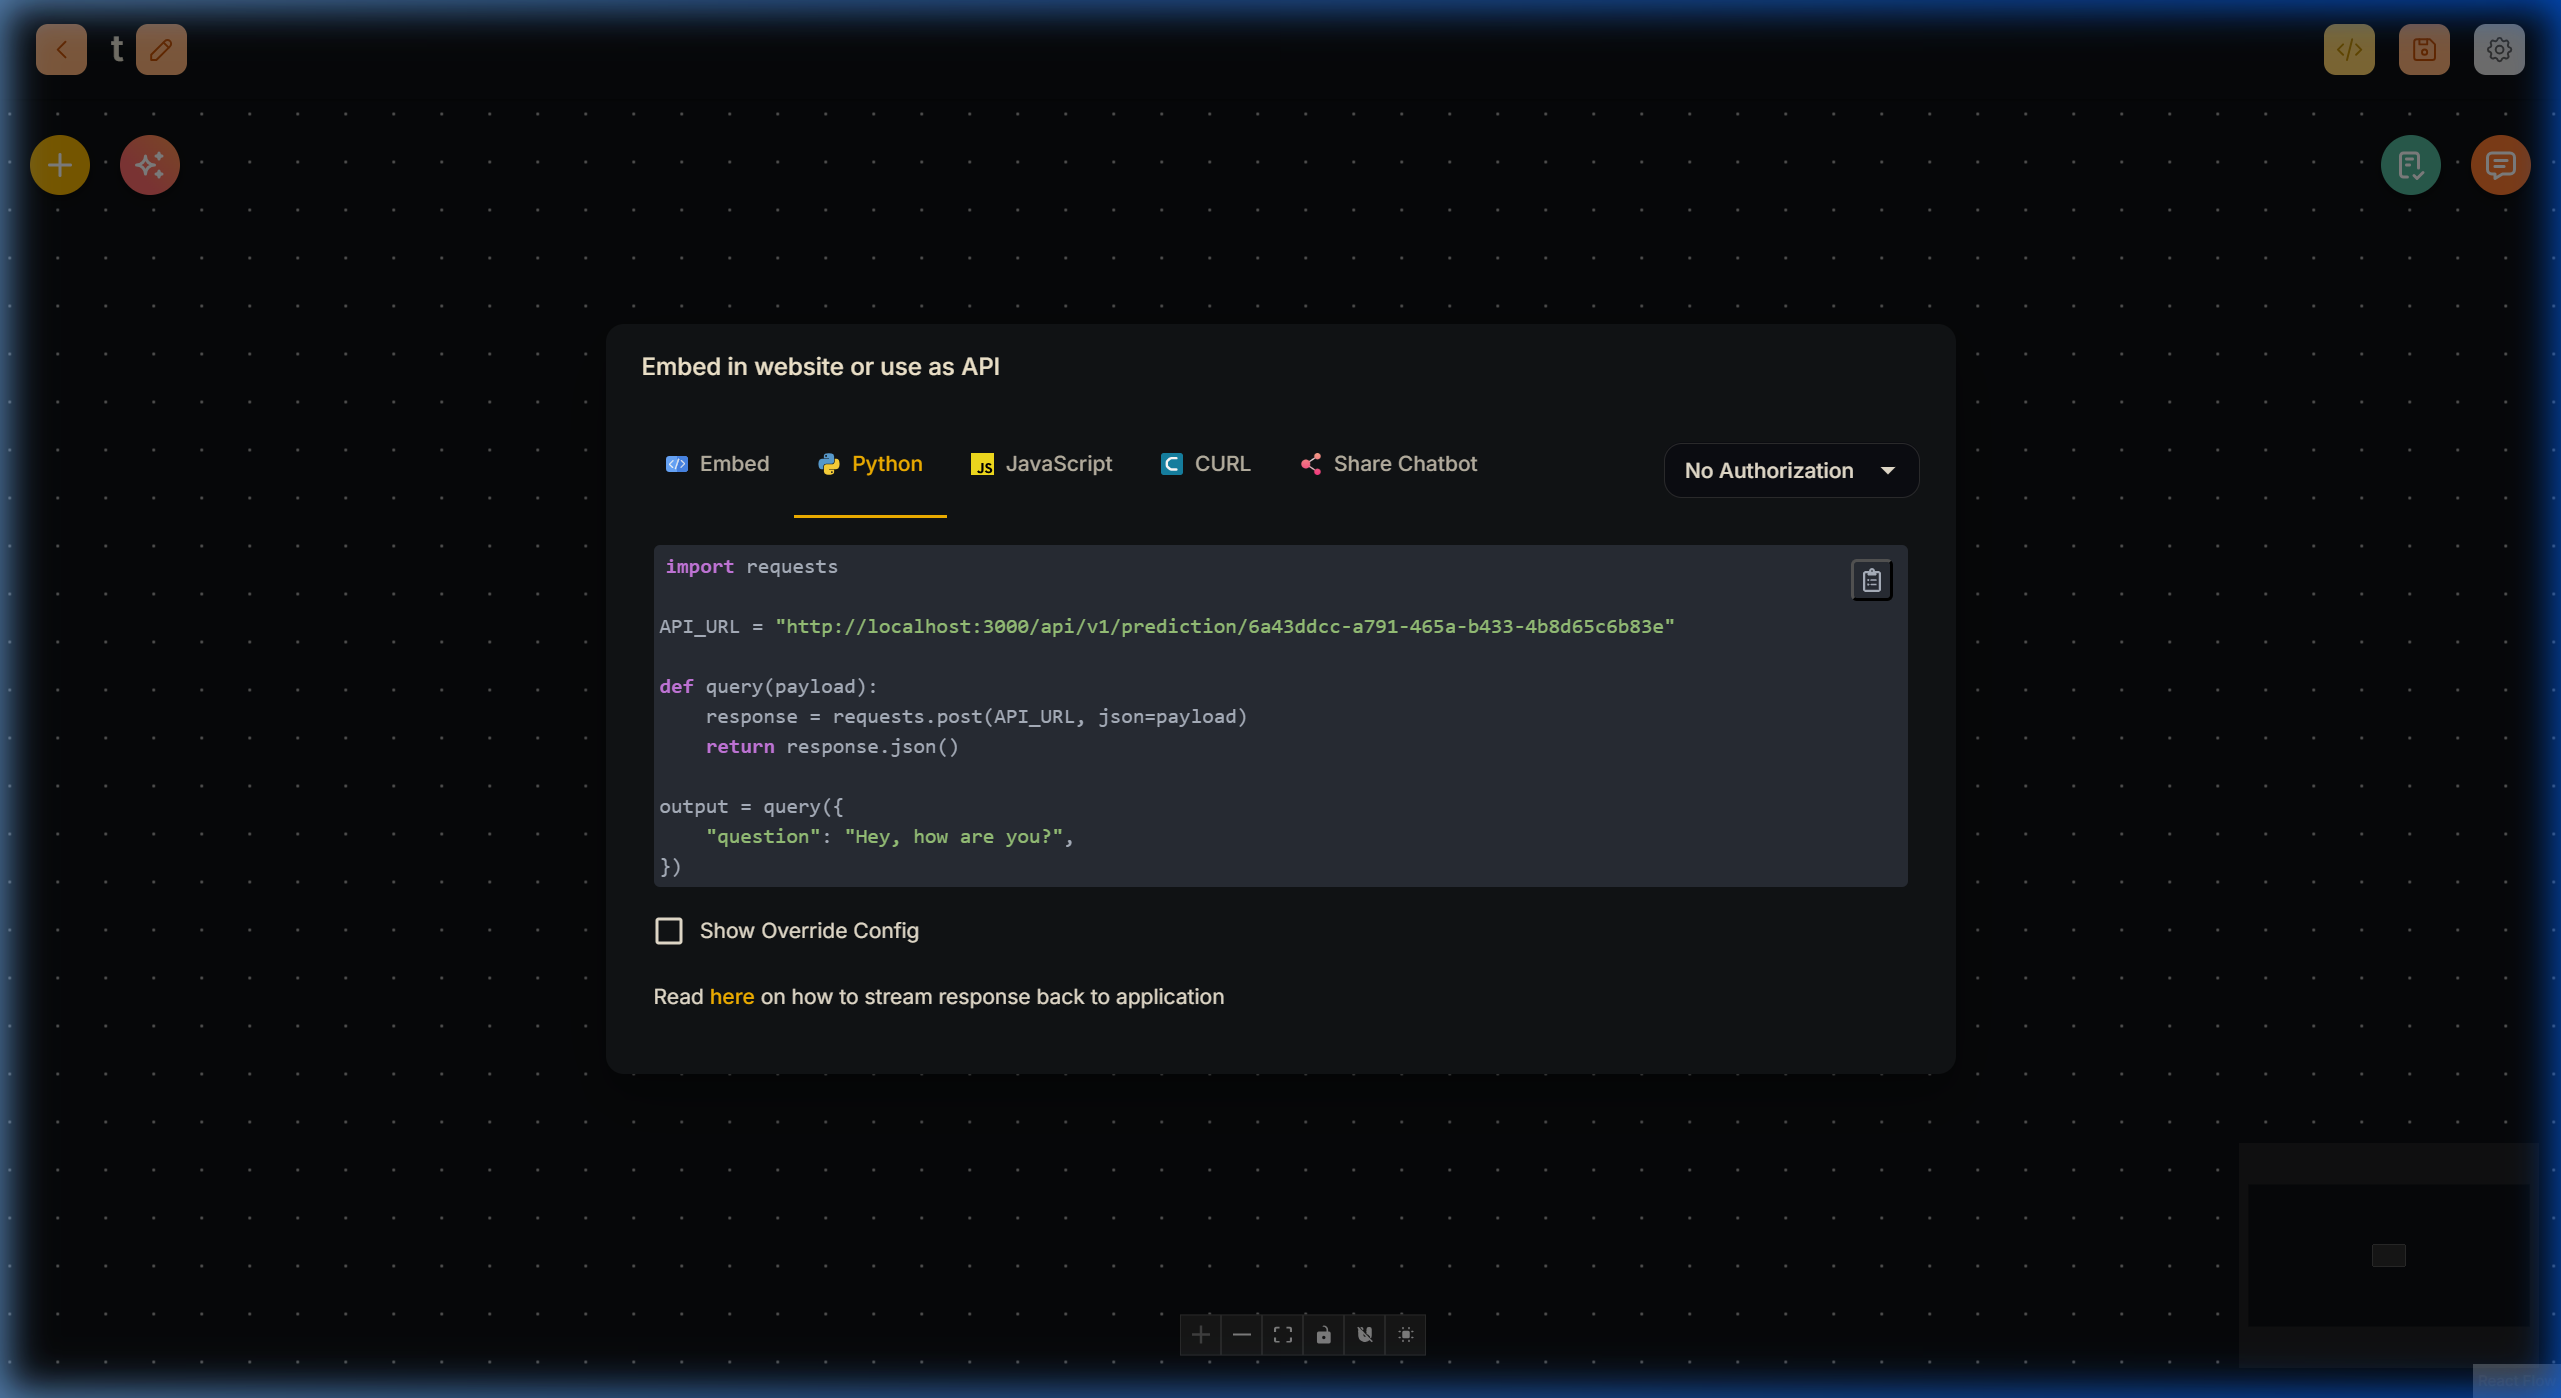
Python API POST Request Syntax
There are two different HTTP patterns in Lyntaris; the dialog selects the correct one for the canvas you have open.
2a. Prediction API (Agentflow V2)
Used for flows built on /v2/agentcanvas.
- Endpoint:
POST /api/v1/prediction/{FLOW_ID}on your Lyntaris host (the dialog shows the full URL with your flow UUID). - Payload: Typically a
questionstring with the user’s input. Your flow may also useoverrideConfig, uploads, orsessionId—the API dialog reflects what your deployment expects. - Response: JSON with the agent’s
textand any metadata (e.g. sources) your flow returns.
For low-latency token delivery, see Streaming Responses. For auth, overrides, and executions, see Customer integration (HTTP API).
2b. Realtime Queue API (Realtime v1 Agent Canvas)
Used for flows built on /realtime-v1/agentcanvas.
- Endpoint:
POST /api/v1/openai-realtime/{FLOW_ID}/queue/enqueue(exact URL is in the dialog). - Payload (JSON): An object with a
formproperty. The keys insideformmust match the Start node runtime form you defined on the canvas (often UPPERCASE names).IDis required and must be non-empty (the server normalizesidtoID). - Optional:
state(initial Flow State),ccBaseUrl(Call Center client base URL)—see Realtime Agent Canvas — Queue API. - Response: Includes
taskIdand queue counters; pollGET /api/v1/openai-realtime/{FLOW_ID}/queue/statusfor item states.
The in-app examples are generated from your saved Start form, so copied code should list the same fields as the Test Queue panel on the canvas.
Integration cheat sheet: Customer integration (HTTP API) compares prediction vs realtime queue and links to streaming, embed, and audit APIs.